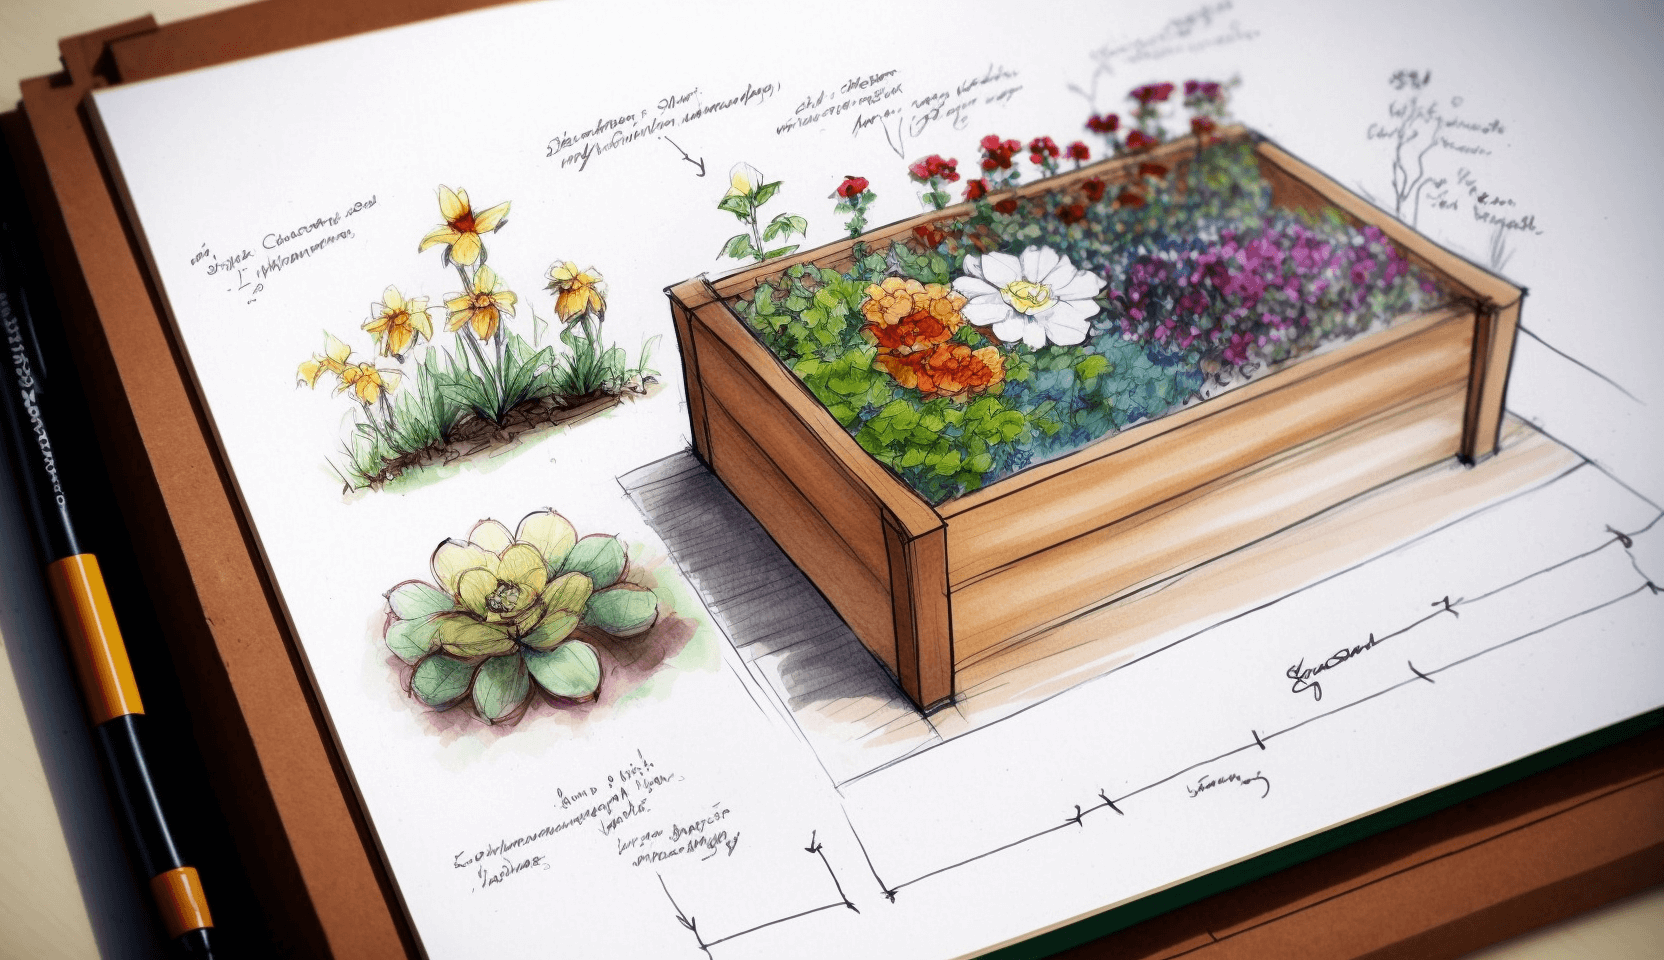
If you’re looking to spruce up your garden, or just to bring a bit of life to a dull backyard, then a DIY garden box might be the perfect solution. Not only can building a garden box bring joy, but it’s also a great way to save money in the long run and add to your DIY skillset.
But why should you consider building a garden box as a DIY project?
It Can Save Money
One of the most obvious reasons to build your own garden box is to save money. Garden boxes typically require minimal materials, and you can make a good one on a tight budget. Quality wooden boards, screws, and nails can cost very little making it a great option for funds conscious gardeners. Even if you buy higher grade materials, it will still be much cheaper than purchasing a pre-made box from a store.
It Teaches Skills
Building a garden box by yourself can be a great way to learn valuable skills. Not only can it teach you wood-working skills such as cutting boards to size with a saw, it can also teach you valuable construction skills like angle cuts, drilling, and screwing boards together. Plus, you’ll be able to build your garden box to the exact specifications that you need – perfect for those tricky corners or small spaces.
It’s Relaxing and Fun
A DIY garden box project doesn’t have to be a quick undertaking – you can make it a fun and relaxing project. The process itself can be quite soothing, enabling you to sit back and take your time building something beautiful. The end result can also be very rewarding, and encourage you to try out other DIY projects in the future.
How to Build A DIY Garden Box
Building a DIY garden box doesn’t have to be complicated, and you can make one with minimal tools and materials. Here’s a basic guide on how to get started:
Gather Your Materials
Start by gathering the materials you’ll need for your project. Here’s a list of materials that you should consider for a basic garden box:
- Wooden boards – planks of wood for the sides, top, and base.
- Drill and drill bits – for drilling pilot holes for the screws.
- Screws, nails, and glue – for attaching the boards together.
- Hammer and saw
Calculate Your Garden Box Dimensions
Once you’ve gathered your materials, it’s time to calculate the dimensions of your garden box. This will vary depending on what space you have available – try using a piece of string or paper to gauge the shape of your garden box first. Make sure the boxes are double layered to ensure maximum durability.
Cut and Drill The Boards
Using a saw, you can now cut your wooden boards to size. Once that’s done, take your drill and drill bits and start drilling pilot holes in the corners and junctions of the boards.
Put the Garden Box Together
Using a hammer, wood glue, and screws, you can now start putting the garden box together. Start by connecting the side and bottom boards, securing them with nails or screws. Once that’s done, seal any gaps between boards with wood glue. Place the top board last and also secure this with nails or screws, making sure it’s as flush as possible.
Enjoy Your Garden Box
Now that you have your DIY garden box, it’s time to enjoy it. You can use your garden box for a variety of purposes, such as planting vegetables, herbs, or flowers. You can also use a garden box as a great place to store items, or add further decoration to your garden with things like herbs and stone paths.
Building your own box is a great way to save money, develop valuable skills, and create a beautiful and lasting addition to your garden. Once you’ve completed one, you’re sure to get the bug and want to start on more projects. Have fun!

