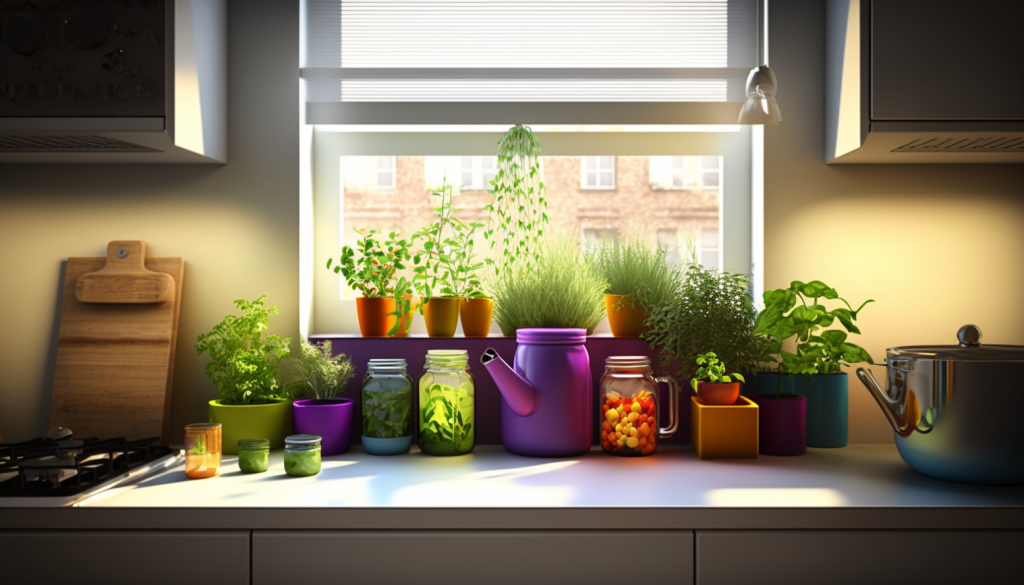
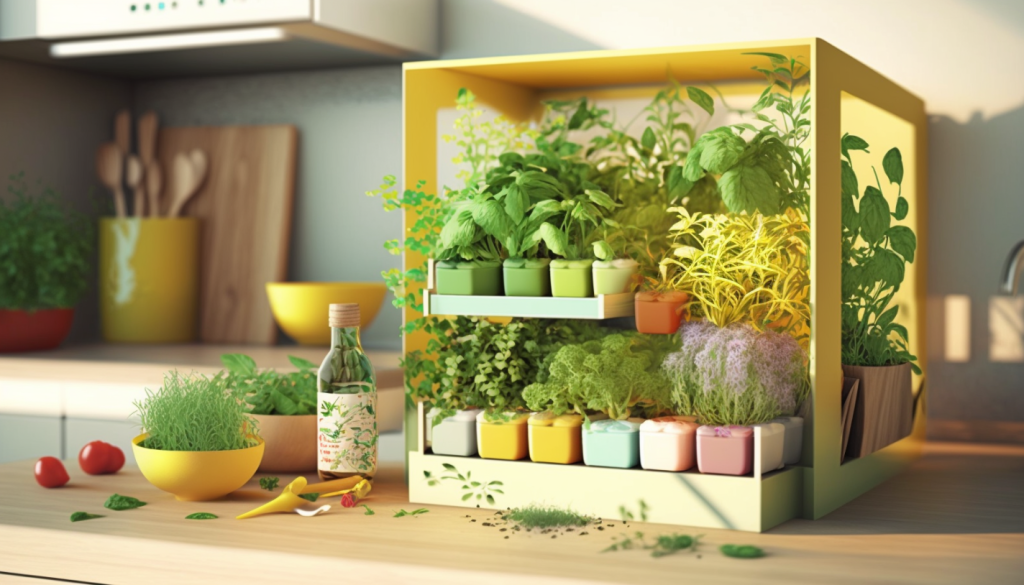
Are you tired of buying expensive fresh herbs from the grocery store every time you need them for a recipe? Consider creating a DIY herb garden! Not only is it a fun and rewarding project, but having fresh herbs on hand can save you money and enhance your cooking. In this article, we will discuss how to create a DIY herb garden using planter boxes, pallets, and hanging gardens, as well as tips and tricks for selecting, planting, and caring for your herbs.
Choosing a Location
The first step in creating a DIY herb garden is choosing a location. Most herbs need at least six hours of sunlight per day, so it’s important to select a spot that receives plenty of sunshine. However, some herbs, like parsley and cilantro, can tolerate partial shade, so consider planting those in a shadier area. Additionally, make sure the location has well-draining soil to prevent waterlogging and root rot.
Depending on your available space, you can create a herb garden using different methods. Planter boxes, pallets, and hanging gardens are popular options for small spaces or urban gardens.
Selecting Herbs
Once you have chosen your location, it’s time to select your herbs.Choosing the right herbs for your DIY herb garden is crucial for a successful harvest. Here are some tips for selecting herbs:
- Choose herbs that you use frequently in your cooking and that will complement each other.
- Basil, chives, mint, oregano, parsley, rosemary, sage, and thyme are all popular herbs that can be grown in a DIY herb garden.
- Consider planting herbs that are easy to grow and maintain, such as mint, chives, and parsley.
- Think about the flavor and aroma of the herbs when selecting them. For example, rosemary has a strong, woody scent and is commonly used in Mediterranean dishes.
- Consider the growth habit of the herbs. Some herbs, like mint and thyme, are known for spreading rapidly and can quickly overtake your garden if not kept in check.
- Research the growing requirements of each herb to make sure they are suitable for your garden. For example, some herbs prefer a more acidic soil, while others require more alkaline soil.
Preparing Your DIY Herb Garden

Before planting your herbs, it’s important to prepare your garden. If you’re using a planter box, make sure it has drainage holes and fill it with a high-quality potting mix. For pallet gardens, add a layer of landscaping fabric to prevent soil from falling out of the cracks. If you’re using a hanging garden, line the basket with sphagnum moss to retain moisture.
When planting your herbs, make sure to space them appropriately. Most herbs need about 12 inches of space to grow, so plan accordingly. Once you’ve planted your herbs, water them thoroughly and place them in a sunny spot.
By the way, you can learn how to make unique plant containers from recycled materials and reduce waste while enjoying the benefits of gardening by reading DIY Plant Pots from Recycled Materials.
Caring for Your Herbs
To keep your herbs healthy and thriving, make sure to water them regularly. Herbs grown in containers may require more frequent watering than those planted directly in the ground. Fertilize your herbs every two to three weeks with a balanced fertilizer to provide them with the nutrients they need. Additionally, prune your herbs regularly to encourage bushier growth and prevent them from becoming too leggy.
Here are some tips for caring for your herbs:
- Watering: Most herbs require consistent moisture to thrive, but be careful not to overwater them. Water your herbs when the top inch of soil feels dry to the touch.
- Fertilizing: Herbs don’t typically require heavy fertilization, but adding a slow-release fertilizer to the soil can provide them with the necessary nutrients to grow.
- Pruning: Regular pruning encourages growth and helps maintain the shape of your plants. Remove any dead or yellowing leaves and trim back any long, leggy stems.
- Pest control: Keep an eye out for pests that can damage your herbs, such as aphids, whiteflies, and spider mites. Consider using natural pest control methods such as companion planting or neem oil.
- Harvesting: Harvest your herbs regularly to encourage bushier growth and prevent them from becoming too woody. Cut back no more than a third of the plant at a time to allow for regrowth.
By following these simple care tips, you can ensure that your DIY herb garden remains healthy and productive throughout the growing season.
Harvesting and Using Your Herbs

Once your herbs have grown, it’s time to harvest and use them in your cooking. Herbs taste best when they are harvested in the morning before the sun has fully risen. Use sharp scissors to snip off the leaves or stems, being careful not to damage the plant. Fresh herbs can be used immediately or stored in the fridge for a few days. Alternatively, you can dry your herbs by hanging them upside down in a well-ventilated area.
DIY herb garden is a fun and rewarding
Creating a DIY herb garden is a fun and rewarding project that can provide you with fresh herbs for cooking all year round. By choosing a sunny location, selecting the right herbs, and following the proper planting and care techniques, you can have a thriving herb garden in no time. Whether you’re using a planter box, pallet, or hanging garden, the possibilities are endless. Start your herb garden today and enjoy the benefits of fresh herbs in your cooking!

