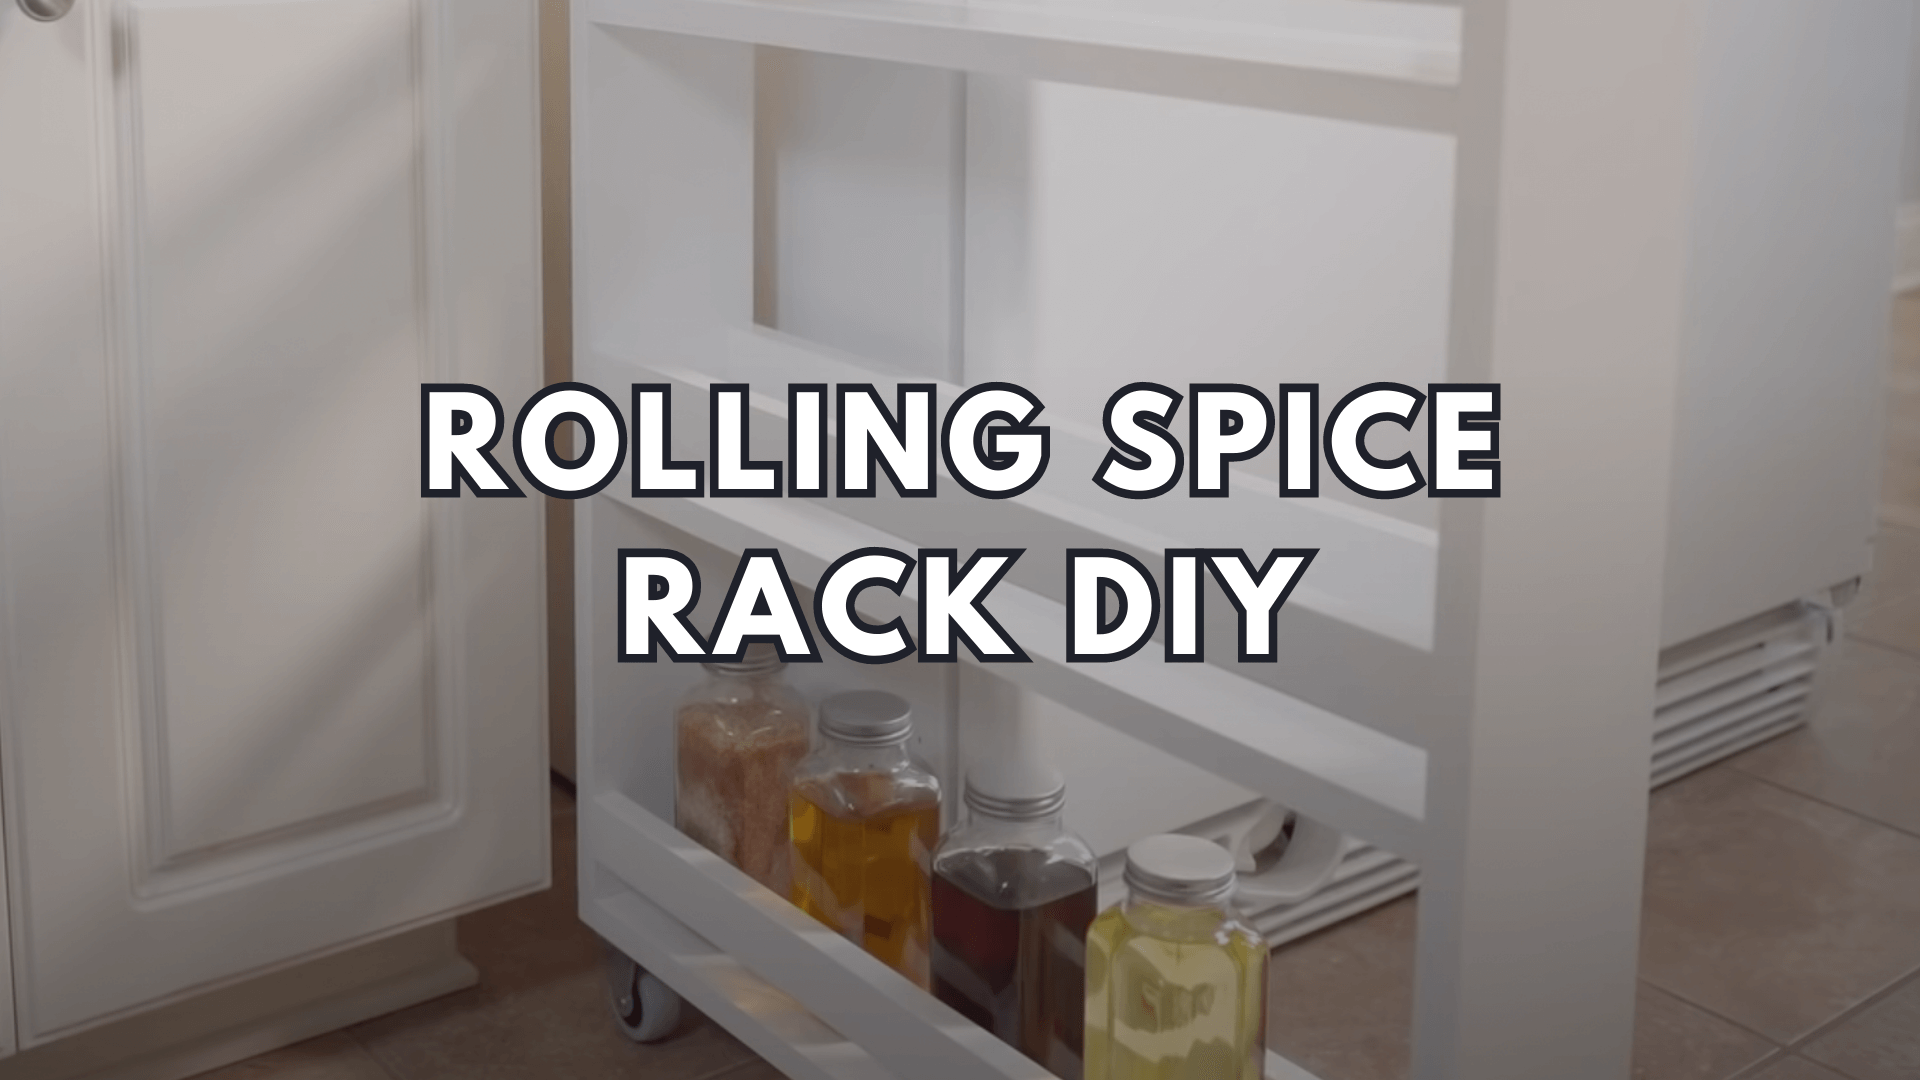
Do you find yourself constantly shuffling through a disorganized mess of spice jars every time you cook? Do you dream of a world where all your seasonings are neatly organized and easily accessible? Well, my friend, it’s time to make that dream a reality with a rolling spice rack. This DIY project will not only save you time and frustration but also add a touch of style to your kitchen.
In this article, we’ll cover everything you need to know about building your own rolling spice rack, including installation, materials, and storage tips. So grab your tools and let’s get started!
Materials Needed:
- Plywood (1/2 inch thick)
- Wooden dowels (1/4 inch thick)
- Wheels (4)
- Screws
- Drill
- Saw
- Sandpaper
- Wood glue
- Paint or stain (optional)
Step 1: Cut the Plywood Using a saw, cut the plywood into four pieces: two identical pieces for the sides of the spice rack, and two identical pieces for the top and bottom.
Step 2: Sand the Edges Using sandpaper, smooth out any rough edges or splinters on the plywood.
Step 3: Drill Holes for the Dowels On one of the side pieces, drill evenly spaced holes for the wooden dowels. These holes should be large enough to fit the dowels snugly.
Step 4: Attach the Dowels Apply a small amount of wood glue to the ends of the wooden dowels and insert them into the holes on the side piece. Then, attach the other side piece to the dowels, using screws to secure them in place.
Step 5: Attach the Wheels Attach the wheels to the bottom piece of the spice rack using screws. Make sure the wheels are evenly spaced and securely attached.
Step 6: Attach the Top Piece Using screws, attach the top piece to the sides of the spice rack.
Step 7: Add Shelves Using the remaining plywood, cut out shelves to fit inside the spice rack. Attach the shelves to the wooden dowels using wood glue.
Step 8: Optional: Paint or Stain If desired, paint or stain the spice rack to match your kitchen decor.
Congratulations! You’ve now built your very own rolling spice rack. But the question remains: how do you store your spices in this new creation?
Here are some tips for organizing your spices:
- Label each jar with the name of the spice to make it easier to find.
- Store frequently used spices at eye level for easy access.
- Group spices together by category (e.g. baking spices, herbs, etc.).
- Use uniform jars or containers for a clean and streamlined look.
- Consider adding small baskets or bins to hold miscellaneous items like measuring spoons or recipe cards.
With these tips and your new rolling spice rack, you’ll be able to easily find and access all your spices while adding a touch of style to your kitchen.
A rolling spice rack is the ultimate solution to your kitchen woes. With just a few materials and some simple tools, you can build a stylish and functional spice rack that will save you time and frustration in the kitchen. So why not give it a try? Your taste buds (and your sanity) will thank you.
DIY Rolling Spice Rack Next to the Fridge
Creating a DIY rolling spice rack next to the fridge can be a clever and space-saving solution for organizing kitchen essentials. By utilizing the often underutilized area beside the refrigerator, you can maximize storage efficiency while keeping frequently used spices within arm’s reach. To craft your rolling spice rack, begin by measuring the available space and gathering the necessary materials such as wood or metal boards, casters for mobility, and screws for assembly. Design the rack with adjustable shelves or compartments to accommodate various sizes of spice containers. Once constructed, this functional and customizable spice rack can not only declutter your kitchen counters but also add a touch of organization and convenience to your cooking routine.

