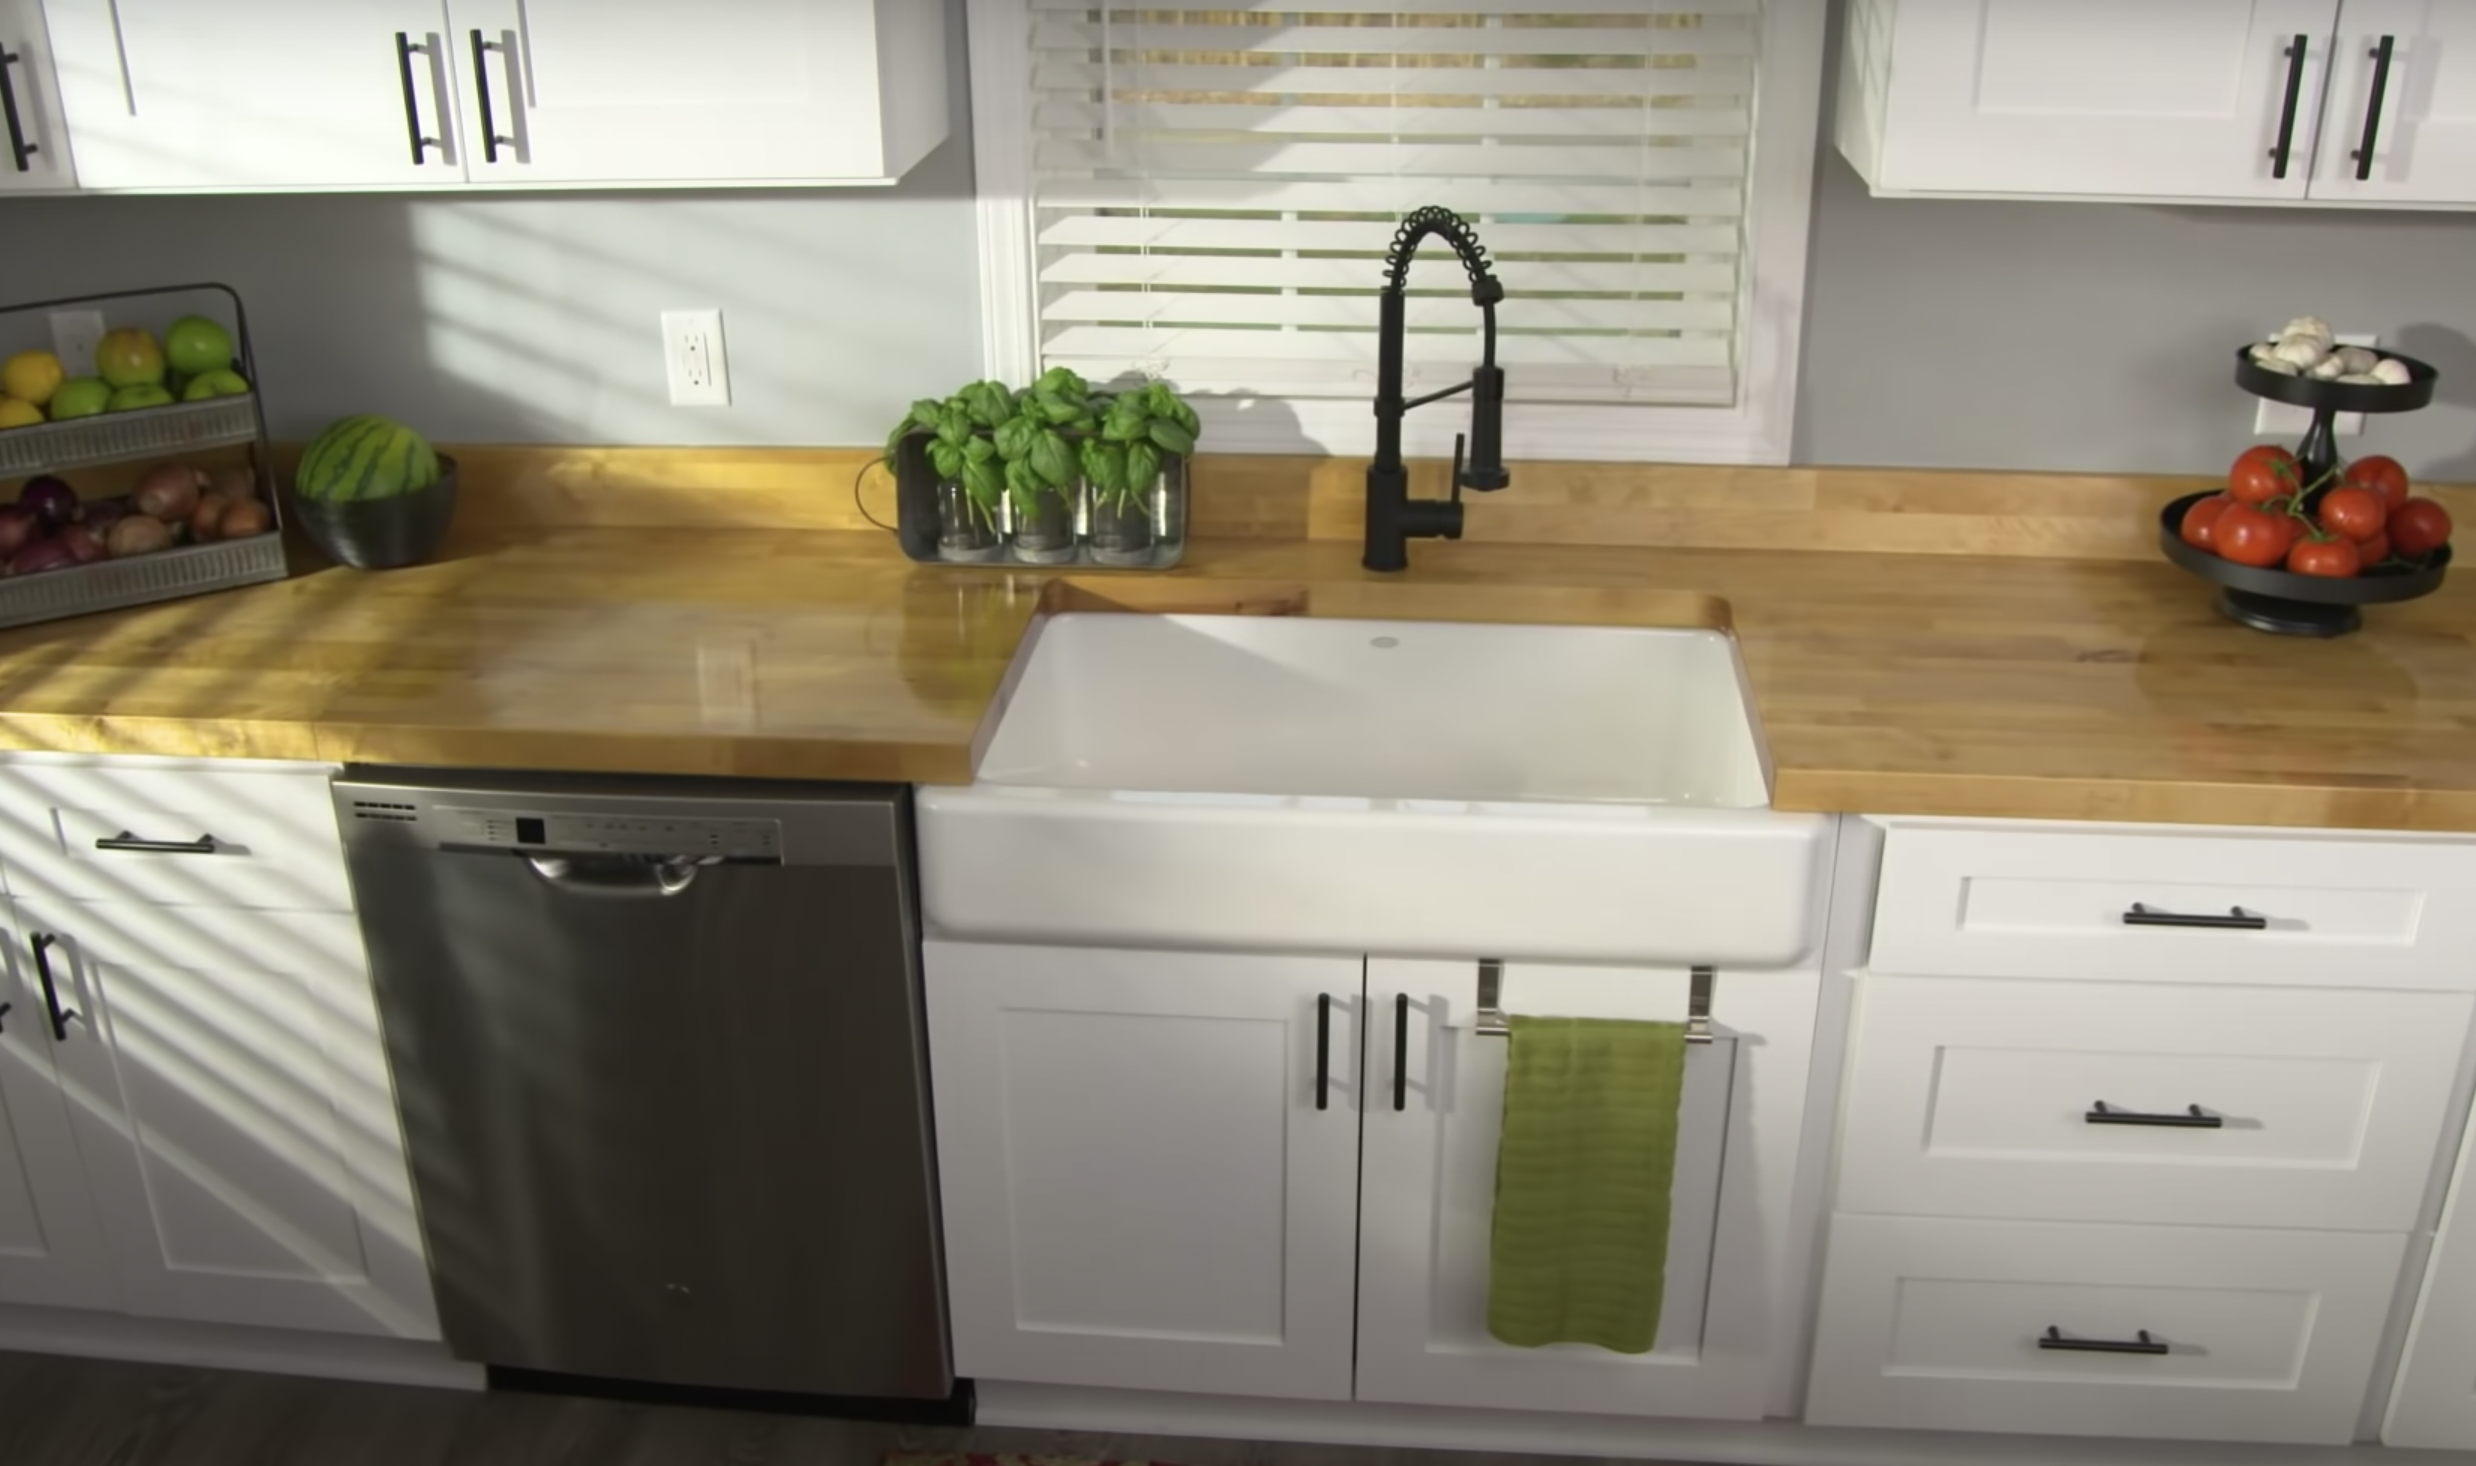
Ready to level up your cooking game and declutter your kitchen space? Well, we’ve got a fantastic solution for you: a DIY kitchen island butcher block! It’s like adding a superhero to your kitchen – strong, functional, and ready to save the day (and your sanity!).
Let’s face it; kitchen space can get cramped real quick. Pots, pans, cutting boards, utensils – they all seem to conspire against us, turning our once-organized kitchen into a chaotic battleground. But fear not! Our DIY kitchen island butcher block is here to rescue you from the clutter chaos.
Picture this: a gorgeous, sturdy butcher block right in the heart of your kitchen. It’s like having your very own culinary oasis, ready to assist you in all your cooking endeavors. With ample storage and workspace, this DIY project will transform your kitchen into a dreamy, organized heaven.
So, are you up for the challenge? Let’s roll up our sleeves and get creative with some DIY magic!
Why DIY? Because It’s Personal!
Sure, you could buy a pre-made kitchen island, but where’s the fun in that? DIY projects are like the homemade cookies of the home improvement world – they have that personal touch, and you can customize them to your heart’s content.
By embarking on this DIY adventure, you get to choose the materials, colors, and dimensions that suit your kitchen perfectly. Plus, there’s a certain satisfaction that comes with knowing you built something with your own two hands – it’s an achievement you can take pride in.
Step 1: Gather Your Materials and Tools
Before we dive into the DIY magic, let’s make sure we have all the necessary materials and tools. Here’s a quick checklist for you:
Materials:
- Butcher block countertop (the star of our show!)
- Wood for the frame and legs (choose a sturdy, good-looking wood)
- Screws and nails
- Wood glue
- Sandpaper
- Wood stain or paint (let your creativity shine!)
- Polyurethane for a smooth finish and extra protection
Tools:
- Measuring tape
- Saw (circular saw or miter saw will do the trick)
- Drill (with various drill bits)
- Screwdriver
- Hammer
- Paintbrush
Now that we’ve got our toolkit ready, it’s time to unleash our inner DIY maestro!
Step 2: Measure Twice, Cut Once
Ah, the golden rule of DIY – always measure twice, cut once. We don’t want any wonky kitchen islands, do we? Grab that measuring tape and start planning your island’s dimensions. Consider the available space in your kitchen and how you want the island to fit in.
Here’s a tip: Leave some room for chairs or stools around the island if you want it to double as a dining area. It’s like having your own mini bistro right at home!
Step 3: Build the Frame
With our measurements ready, let’s start building the frame. The frame is like the backbone of our kitchen island, providing the support it needs to handle all the culinary action. You can get creative with the design, adding shelves or drawers for extra storage.
Once the frame is in place, attach the butcher block countertop securely. Remember, we want this island to be a sturdy workhorse, not a wobbly distraction.
Step 4: Sand and Stain
Now that our kitchen island is taking shape, it’s time to give it that smooth finish. Grab the sandpaper and gently sand the wood until it’s baby-bottom soft. Sanding also helps the stain or paint adhere better, so it’s a win-win!
Next up, let your creative juices flow as you choose a stain or paint color that complements your kitchen’s vibe. Maybe a rustic farmhouse look or a sleek modern finish – it’s entirely up to you!
Step 5: Protect and Seal
Our kitchen island is almost complete, but before we unveil it to the world, we need to give it some extra protection. Enter polyurethane – the superhero of wood finishes. A couple of coats of polyurethane will protect the wood from spills, scratches, and all those kitchen mishaps.
Step 6: Time to Shine
Ta-da! Your DIY kitchen island butcher block is ready to shine in all its glory. It’s more than just an island; it’s a functional work of art that brings joy to your cooking experience. Plus, it’s the ideal spot for those Instagram-worthy food prep sessions – #kitchenislandgoals!
Maximize Space, Maximize Happiness
As the saying goes, “A cluttered kitchen is a cluttered mind.” But fear not, dear kitchen enthusiasts, for our DIY kitchen island butcher block is here to save the day! It’s not just about the extra storage and workspace; it’s about creating a space that sparks joy and enhances your culinary adventures.
So, why wait? Grab those tools, get creative, and embark on a DIY journey that will revolutionize your kitchen. Remember, it’s not just a kitchen island; it’s a reflection of your personality and your love for all things delicious.

