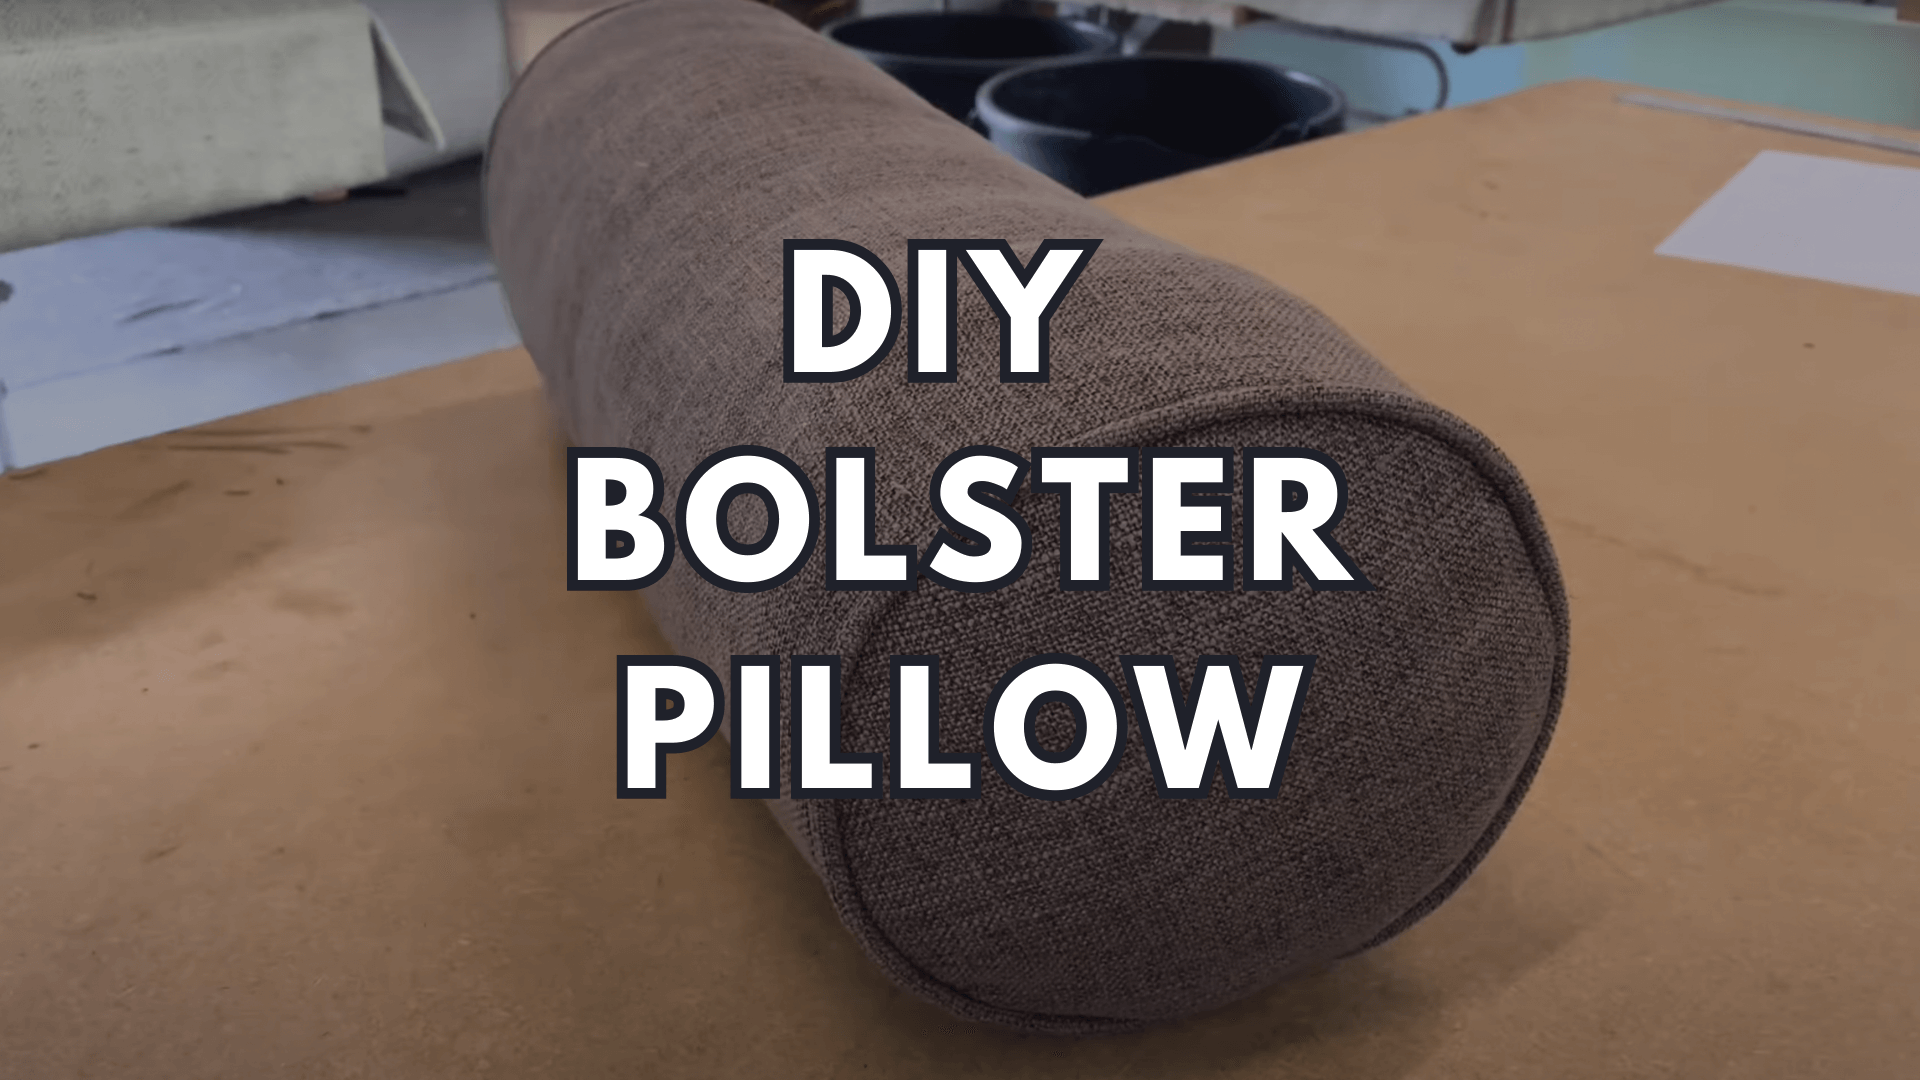
I’ve always believed that a touch of personal creativity can turn any space into a cozy haven. So, let’s talk about something that adds both style and comfort to your living area without breaking the bank – the DIY bolster pillow.
You might be wondering, “Why make a bolster pillow when I can easily buy one?” Well, my friend, that’s the magic of crafting something with your own two hands. It’s like adding a pinch of your essence into your space. Plus, it’s easier than you might think!
Imagine this: You’re lounging on your favorite couch, a warm cup of tea in hand, and your DIY bolster pillow nestled against the armrest. It’s not just a pillow; it’s a conversation starter, a piece of art, and your personal comfort companion.
Now, let’s dive into the creative process. Don’t worry; I’ve got you covered with step-by-step guidance.
Step 1: Gather Your Supplies
Just like a painter needs brushes and colors, our crafting adventure requires some materials. Here’s what you need:
- Fabric: Pick a fabric that matches your style. It could be something bold and vibrant or soothing pastels – the choice is yours!
- Filling: Grab some stuffing material. It could be foam, batting, or even repurpose old pillows.
- Sewing Machine (or Needle and Thread): Whether you’re a sewing pro or a beginner, there’s an option for you.
- Scissors: Precision is the key!
- Pins: They’ll keep everything in place.
- Measuring Tape: Let’s keep things symmetrical.
Step 2: Design Your Bolster
Think of your bolster as a blank canvas. What size and shape are you going for? Will it be a long cylindrical pillow or a rectangular one? It’s your masterpiece, so decide how you want it to look and feel.
Step 3: Cut and Sew
Measure and cut your fabric according to your chosen size and shape. Now, the sewing part might seem a bit intimidating, but trust me, it’s like riding a bicycle – once you get the hang of it, you’ll be unstoppable!
Stitch up one end and the long side of the fabric, leaving one end open. This is where you’ll stuff your filling.
Step 4: Fill It Up
Time to bring your bolster to life! Grab your chosen filling material and start stuffing. Be generous – you want your bolster to be plump and huggable.
Step 5: Seal the Deal
Remember that open end? Now’s the time to stitch it up. Make sure it’s nice and secure, so your bolster can withstand all the cozy moments it’s about to witness.
Step 6: Personalize
Here’s where the fun really begins. Personalize your bolster pillow to match your style and vibe. Add decorative elements like buttons, embroidery, or even a cute fabric bow. This is your chance to let your creativity run wild!
And there you have it – your very own DIY bolster pillow, ready to add a touch of comfort to your space. Doesn’t it feel amazing to create something with your own hands?
This little crafting adventure is not just about the end result; it’s about the journey. It’s about the joy of bringing an idea to life, one stitch at a time. So, grab your fabric, thread that needle, and let your imagination run free. Your cozy corner is just a few stitches away!

