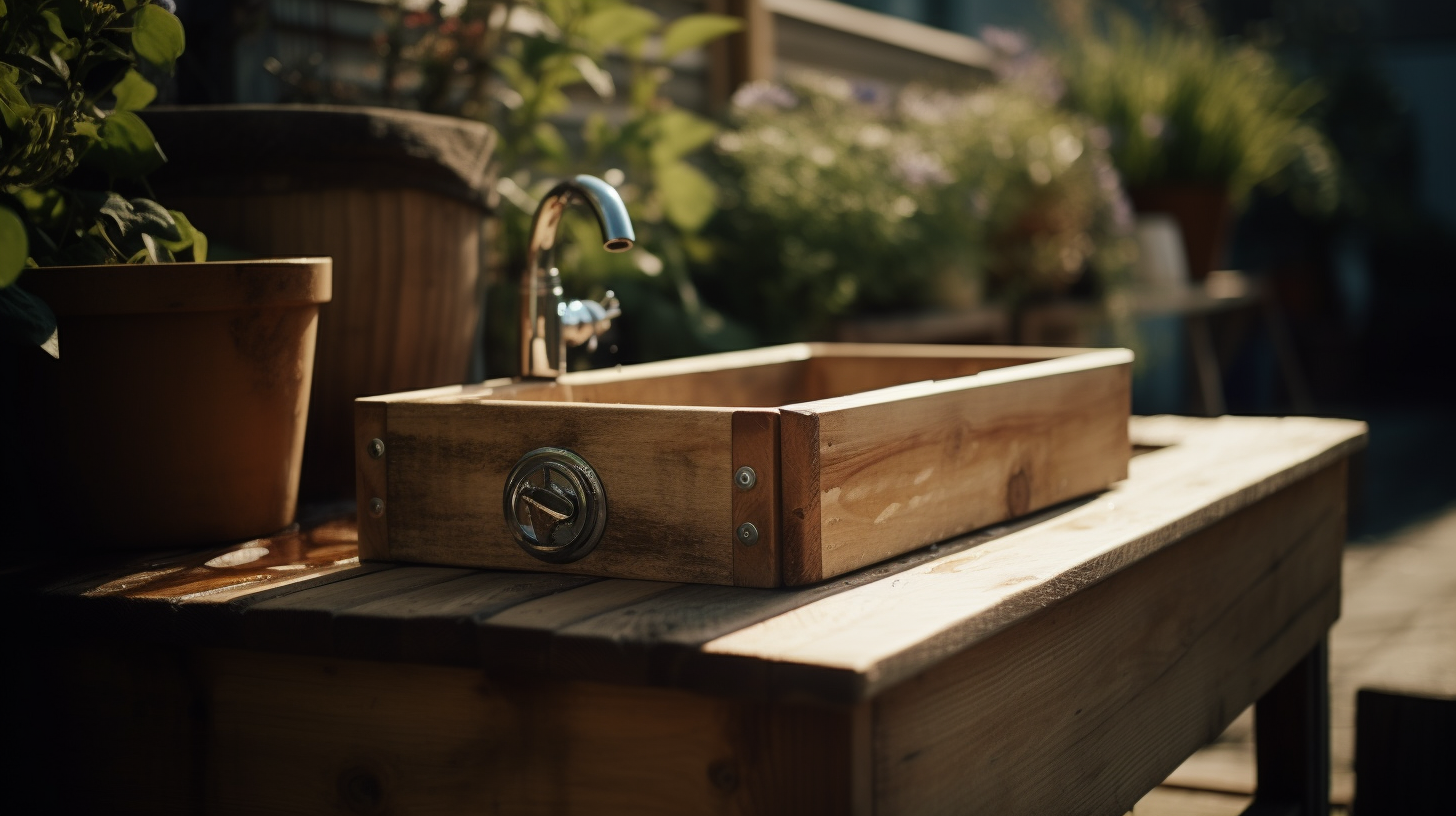
How to Build a Wooden Outdoor Sink with Two Basins, Shelves, and Soap Dispensers
Hey there, DIY enthusiasts! Are you looking to add a touch of style to your outdoor space while also being practical? Well, look no further because today we’re going to show you how to build a wooden sink from scratch! Yes, you heard that right – a sink made entirely out of wood that is perfect for outdoor use. Not only will it provide a convenient place to wash your hands or prep food, but it will also add a beautiful and rustic feel to your outdoor decor.
But before we jump into the details, let’s talk about why using resistant wood is important. We want this sink to withstand the elements, right? So, we need to choose the right type of wood. Cedar, teak, and redwood are great options as they are all known for their resistance to moisture and insects. These woods are not only durable but also beautiful, making them perfect for outdoor use.
Now, let’s move on to the materials needed. In addition to the resistant wood, we will also need stainless steel for the basins and soap dispensers. This will ensure that these elements do not rust over time. We will also need a waterproof sealant to protect the wood from moisture and maintain its longevity.
Are you ready to get started? Great! In the next section, we will dive into the step-by-step construction process, including measurements and assembly instructions. We will also provide a list of tools and materials required for the project, such as saws, drills, sandpaper, screws, and nails.
But before we do, if you’re interested in other outdoor sink designs, check out these links to our previous articles on designing a concrete sink and making a concrete kitchen sink. They may provide you with some inspiration or ideas for future projects. And if you’re interested in the pros and cons of using cement kitchen sinks, check out our article.
Let’s get started on this wooden sink project and add some rustic charm to your outdoor space!

Types of Resistant Wood
Choosing the right type of wood for your outdoor wooden sink is crucial to ensure its durability and longevity. There are several types of resistant wood that are great for outdoor use, such as cedar, teak, and redwood. Let’s take a closer look at each type and its properties:
Cedar
Cedar is a popular choice for outdoor projects because it’s lightweight and easy to work with. It’s also naturally resistant to moisture and insects, making it an ideal choice for outdoor furniture and structures. Cedar has a beautiful reddish-brown color that looks great when stained or left to age naturally. Some benefits of using cedar for your wooden sink include:
- Resistant to rot, decay, and insects
- Naturally weather-resistant
- Lightweight and easy to work with
- Has a pleasant scent
Teak
Teak is a tropical hardwood that is known for its strength and durability. It has a natural oil content that makes it resistant to moisture, insects, and rot. Teak also has a beautiful golden-brown color that looks great in any outdoor setting. Here are some benefits of using teak for your wooden sink:
- Extremely durable and long-lasting
- Resistant to moisture, insects, and rot
- Beautiful golden-brown color
- Easy to maintain
Redwood
Redwood is another popular choice for outdoor projects because of its natural resistance to rot and insects. It has a beautiful reddish-brown color that looks great when stained or left to age naturally. Redwood is also easy to work with and has a smooth finish. Here are some benefits of using redwood for your wooden sink:
- Naturally resistant to rot and insects
- Beautiful reddish-brown color
- Easy to work with and has a smooth finish
- Durable and long-lasting
Overall, choosing any of these types of resistant wood for your outdoor wooden sink will provide you with a durable and beautiful finished product. However, keep in mind that each type of wood has its own unique characteristics and properties, so make sure to choose the one that best fits your needs and preferences.
Additional Materials
Aside from the wood, there are other materials that you will need to complete your outdoor wooden sink project. These materials include stainless steel for the basins and soap dispensers, as well as waterproof sealant to protect the wood from moisture.
Stainless Steel Basins and Soap Dispensers
Stainless steel is a great material for basins and soap dispensers because it’s durable, easy to clean, and looks great in any outdoor setting. When choosing your stainless steel basins and dispensers, make sure to select ones that fit the size and style of your sink. Here are some benefits of using stainless steel for your outdoor sink:
- Durable and long-lasting
- Easy to clean and maintain
- Resistant to rust and corrosion
- Fits well with any style of sink
Waterproof Sealant
Waterproof sealant is a crucial component of any outdoor wooden sink project because it helps protect the wood from moisture and the elements. Without a proper sealant, your sink will be prone to rot, decay, and other forms of damage. Here are some benefits of using waterproof sealant for your outdoor sink:
- Protects wood from moisture and the elements
- Increases the lifespan of your sink
- Prevents rot, decay, and other forms of damage
- Enhances the appearance of the wood
When choosing a waterproof sealant for your outdoor sink, make sure to select one that is specifically designed for wood and is safe for outdoor use. There are many types of sealants available, such as oil-based, water-based, and epoxy. Make sure to read the instructions carefully and apply the sealant according to the manufacturer’s recommendations.
Overall, using stainless steel for your basins and soap dispensers and waterproof sealant for your wood are essential components of any outdoor wooden sink project. These materials will help ensure the durability and longevity of your sink, as well as enhance its appearance and functionality.

Step-by-Step Construction
Now that you have your materials ready, it’s time to start building your outdoor wooden sink with two basins, storage shelves, and soap dispensers. Here is a step-by-step guide to help you through the construction process:
Step 1: Measure and Cut the Wood
- Measure the dimensions of your sink and mark the measurements on the wood.
- Use a saw to cut the wood into the desired lengths for the frame of the sink, the shelves, and any other necessary components.
Step 2: Assemble the Frame
- Use screws and nails to attach the wooden pieces together to create the frame of the sink.
- Make sure the frame is level and sturdy before proceeding.
Step 3: Attach the Basins
- Place the stainless steel basins into the cut-out spaces on the top of the frame.
- Secure the basins in place with screws or clips.
Step 4: Add the Soap Dispensers
- Decide on the placement of the soap dispensers and drill holes into the wood for them to fit.
- Insert the dispensers into the holes and secure them in place.
Step 5: Install the Shelves
- Attach the shelves to the frame of the sink using screws or nails.
- Make sure the shelves are level and sturdy.
Step 6: Sand and Seal the Wood
- Use sandpaper to smooth out any rough edges or surfaces of the wood.
- Apply a coat of waterproof sealant to the wood to protect it from moisture and the elements.
Step 7: Finishing Touches
- Once the sealant has dried, you can add any finishing touches to the sink, such as decorative elements or hooks for towels.
Congratulations, you have now completed your outdoor wooden sink with two basins, storage shelves, and soap dispensers! Make sure to regularly maintain and clean your sink to ensure its longevity and functionality.
Potential Challenges and Hazards
- Avoid water damage by ensuring the sink is properly sealed and protected from moisture.
- Make sure the sink is stable and level to avoid any accidents or spills.
- When using power tools, make sure to follow proper safety precautions and wear appropriate protective gear.
- Always use caution when handling sharp objects or cutting tools.
Tools and Materials
Before starting the project, it is important to have all the necessary tools and materials on hand to ensure a smooth construction process. Here’s a list of everything you’ll need:
Tools
- Measuring tape
- Circular saw or handsaw
- Jigsaw
- Drill
- Hole saw
- Screwdriver
- Hammer
- Chisel
- Clamps
- Level
- Sandpaper
- Paintbrushes
- Rubber gloves
Materials
- Resistant wood, such as cedar, teak, or redwood
- Stainless steel basin
- Stainless steel soap dispenser
- Stainless steel screws and bolts
- Waterproof sealant
- Wood glue
- Wood filler
- Wood stain or paint
Make sure to have everything on hand before beginning the construction process to avoid any unnecessary trips to the hardware store. It’s also a good idea to have extra wood, screws, and bolts on hand in case of any mistakes or miscalculations.
Once you have all the necessary tools and materials, you’re ready to start building your very own wooden sink!
Potential Challenges and Hazards
While building a wooden sink from scratch can be a rewarding DIY project, it’s important to be aware of potential challenges and hazards that may arise during the construction process. Here are a few to keep in mind:
Water Damage
Since this sink is intended for outdoor use, it’s important to ensure that it’s built to withstand the elements, particularly water. Here are some tips to avoid water damage:
- Use resistant wood that’s been properly treated to withstand moisture.
- Apply a waterproof sealant to the wood to protect it from water damage.
- Ensure that the sink is properly installed and level to avoid any water pooling or leakage.
Stability
Since the sink will be holding water and other items, it’s important to ensure that it’s stable and can support the weight. Here are some tips for ensuring stability:
- Use clamps to hold the wood in place while you’re cutting and assembling it.
- Use wood glue and screws or bolts to ensure that the sink is securely attached to the base.
- Double check that the sink is level to avoid any wobbling or tipping.
Sharp Tools
When working with saws, drills, and other tools, it’s important to be mindful of safety to avoid any injuries. Here are some tips to keep in mind:
- Wear safety goggles to protect your eyes from flying debris.
- Use gloves to protect your hands from sharp edges.
- Keep your fingers away from the blades and drill bits.
By being aware of these potential challenges and hazards, and taking the necessary precautions to avoid them, you can ensure a safe and successful DIY project.
Conclusion
Congratulations, you have completed the construction of your own custom wooden sink for outdoor use! You can now enjoy the convenience of washing your hands or cleaning up outdoors without having to go inside your home.
Remember, when building your wooden sink, it is important to choose the right type of wood that is resistant to outdoor elements and to protect it with waterproof sealant. Using stainless steel basins and soap dispensers will also ensure the longevity of your sink.
Although the construction process may seem daunting, taking it step by step and having the right tools and materials will make it easier. It is also important to keep in mind any potential challenges or hazards that may arise and to address them appropriately.
By following this guide, you have not only created a functional and practical outdoor sink, but also a beautiful addition to your outdoor space. Enjoy your new DIY creation and feel proud of the work you have accomplished!

