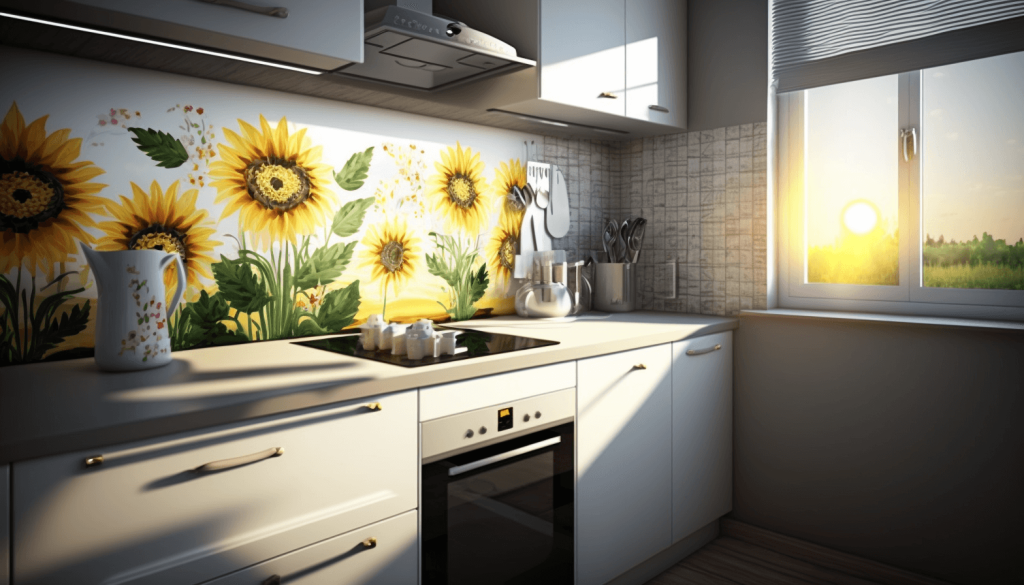
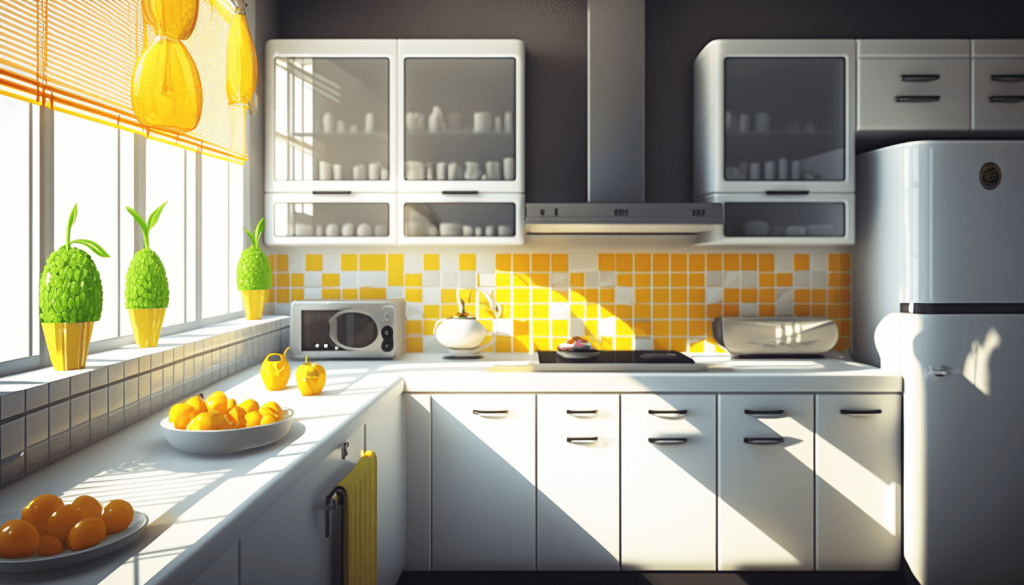
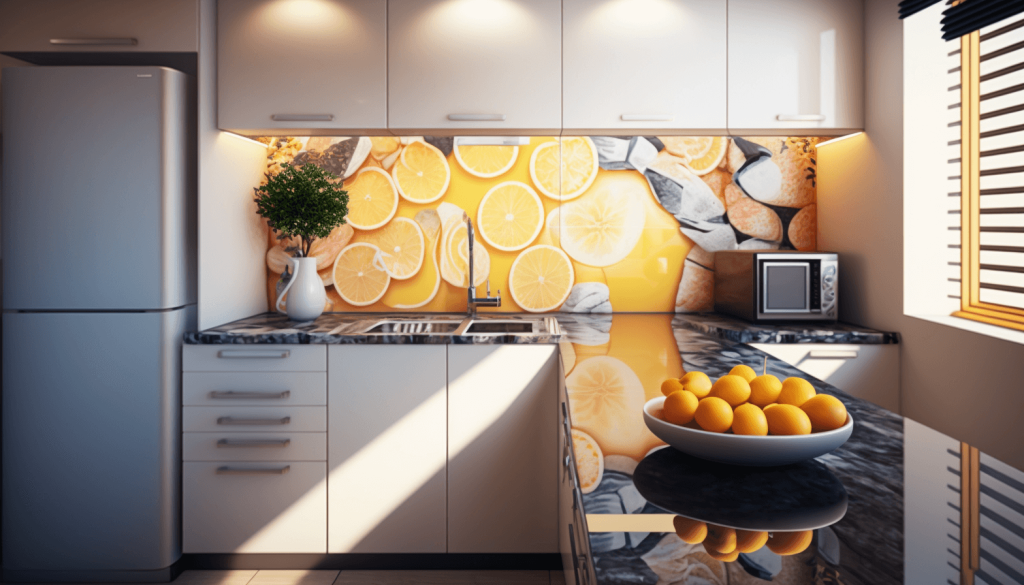
Do you ever walk into your kitchen and feel like it’s missing something? Perhaps it’s the lack of a stylish backsplash that ties the whole room together. If you’re on a budget but want to add some personalization to your kitchen, a DIY backsplash is the way to go. Not only is it cost-effective, but it also allows you to unleash your creativity and make your kitchen truly your own.
In this article, we’ll guide you through the process of planning, preparing, and installing your own DIY backsplash. We’ll also offer solutions to common challenges and tips on maintaining your new addition.
Planning Your DIY Backsplash
Before you start ripping out tiles or picking up a paintbrush, it’s important to plan your DIY backsplash project. First, consider your kitchen style and choose a design that complements it. Do you want a bold patterned tile or a sleek and simple subway tile? The options are endless, so choose what speaks to your personal taste.

Next, consider your budget and choose materials that fit within it. If you’re on a tight budget, don’t worry – there are plenty of affordable materials like paint, wallpaper, and beadboard that can still make a statement.
Lastly, gather the necessary materials and tools for the project. Make sure you have enough tiles, adhesive, grout, and other supplies before starting the installation.
Preparation and Installation
Now that you have a plan, it’s time to prepare your kitchen for the backsplash installation. Clean the area where you’ll be installing the backsplash and measure the space to determine how many tiles or materials you’ll need.

For tile backsplashes, you’ll need to install a backer board to ensure a flat surface for your tiles. Then, apply adhesive and start laying your tiles, making sure to cut them to fit around any corners or edges. For non-tile options like paint or wallpaper, follow the manufacturer’s instructions for application and drying time.
Once your backsplash is installed, it’s time to grout and seal the materials. Follow the instructions on your grout and sealer products for the best results.
Common DIY Backsplash Challenges and Solutions
While DIY backsplash projects can be fun and rewarding, they can also come with some challenges. One common challenge is uneven surfaces, which can make it difficult to install tiles evenly. To overcome this challenge, use a leveling system like tile spacers or wedges.
Another challenge is uneven tiles or mismatched grout, which can detract from the overall look of the backsplash. To avoid this, make sure to plan your layout carefully and adjust as needed. You can also choose a grout color that complements the tile color to create a cohesive look.
Maintaining Your DIY Backsplash
Once your DIY backsplash is installed, it’s important to maintain it properly to ensure its longevity and visual appeal. Here are some tips on how to clean and maintain different types of backsplash materials:
- Glass and stainless steel: Wipe down with a damp cloth and mild cleaner, such as vinegar or dish soap. Avoid using abrasive cleaners or scrubbers that could scratch the surface.
- Stone: Use a stone-specific cleaner and sealer to prevent staining and discoloration. Avoid using acidic cleaners, such as lemon or vinegar, as they can etch the surface.
- Tile and grout: Regularly scrub the grout with a stiff brush and a grout cleaner to prevent discoloration and mildew buildup. For tough stains, use a mixture of baking soda and water or a commercial grout cleaner.
A DIY backsplash project can be a cost-effective and rewarding way to update your kitchen’s look. By following the tips and techniques outlined in this article, you can create a backsplash that not only suits your style and budget but also adds value to your home.

Remember to plan your project carefully, choose the right materials and tools, prepare the area properly, and tackle common challenges with confidence. And once your DIY backsplash is installed, be sure to maintain it properly to ensure its longevity and visual appeal.
So why not take the plunge and try a DIY backsplash project today? With a little creativity and some elbow grease, you can transform your kitchen into a space that reflects your personality and style. Good luck, and happy DIY-ing!

